I posted a repair log of this nice game on Jammarcade :
Enjoy your read !

I posted a repair log of this nice game on Jammarcade :
Enjoy your read !
Not so long ago Hokuto left a comment on the Namco System 2 Keycus Hacks page regarding a problem with the hack for Valkyrie No Densetsu : the keycus protection chip was also used as a random number generator in the game, leading to strange behaviour alteration …
One of the baddies (Arijigoku aka Antlion) is supposed to throw round projectiles around him, in a random pattern, as you can see in the following Mame capture :
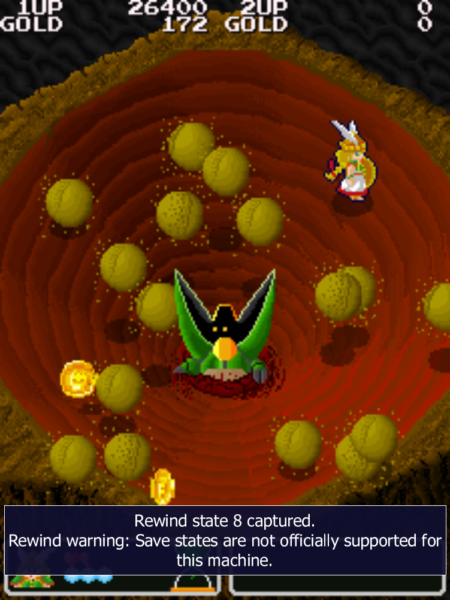
My hack consisted in removing all keycus memory area calls and replacing them with the “no operation” instruction. It works well when the chip is just used as a protection (check Namco System 2 keycus hacks for more info), but it completely defeats its role as a random number generator. With my hack, the projectiles are thrown in straight lines, as you can see below :
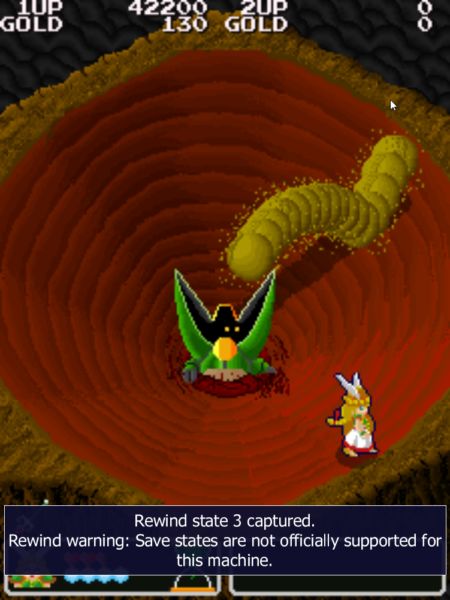
In order to restore correct throw behaviour, I created a pseudo random number generation routine in 68000 assembly that I added to the program rom, and replaced previous keycus calls used to get the numbers by a call to this routine.
I had to tweak the code a few times to achieve a good enough result (ie fast and with no visible repeat pattern) as it’s not possible to have a real random number generator. It involved intensive testing in Mame as there’s no savestate available for this game, meaning that I had to speed run the first part of the game to get to the point where the problem appears at every code update …
As you can see below, it works quite well 🙂 (sorry for the animated gif size)
You can grab the updated files in the Namco System 2 Keycus Hacks page.
Version 1.2.2 of AGAR is out, for both Linux and Windows. It’s a minor improvements release.
Improvements
global : improved icons when displayed in dark mode.
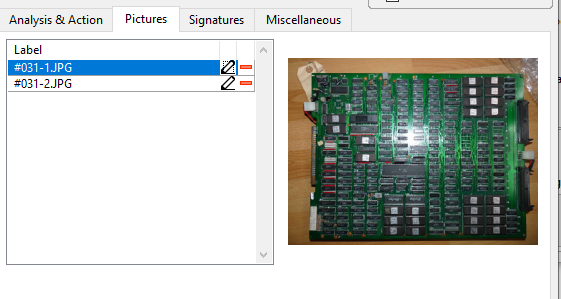
pcb dialog : added a button to export the selected picture to a directory.Grab it here, as usual 😉
Cheers !
Hi there,
Hokuto tested the Valkyrie No Densetsu hack and had some issues with it. I did a more in depth research in the file and found a keycus call that slipped through the net … I removed it, and you can download the updated file on the related page.
Cheers !
Version 1.2.1 of AGAR is out, for both Linux and Windows. It’s a bug fix release with small improvements.
Improvements
    pcb dialog : preview in pictures tab is saved in database to speed up navigation.
    pcb dialog : displaying full size image by double clicking when the image is bigger than the display screen
                 is now handled correctly : you can zoom, resize or move the image to taste.
    pcb dialog : progress indicator is now displayed while adding images.

Bug fixes
    main : application icon is now correctly displayed.
    pcb dialog : drag & drop should now work without occasionally creating orphan actions.
I also spent some time creating a user guide, describing more in depth how to use the software. I hope you’ll like it 🙂
Cheers !
I just released version 1.2 of AGAR. It’s main feature is the overhaul of the pictures tab in the pcb view : you can now directly drag and drop files from the file explorer to the pictures list. No need to use the clumsy file selector anymore, everything is handled using the mouse.
I made some changes to the Linux version too : in previous versions the database file was created in the config directory, which could lead to permissions problems on the file when updating. The database was supposed to be in the same directory than the executable anyway (it works that way on Windows), so the file will be automatically copied to the right directory at first start. If there’s any trouble doing so, a message will be displayed with relevant information to do it manually.
Finally the binary for Windows is now x86-64, I don’t think the 32 bit version will be missed … if that’s the case drop me a line 😉
I created a GitHub page for the project, you can access it here : https://rtoumazet.github.io/agar/ (or using the Projects tab above).
Cheers !
Last year Guru asked me if I could alter the program code of a Final Lap 2 so it would bypass access to the protection chip which had failed. The protection chip, known as ‘keycus’, is used on various Namco arcade systems.
Final Lap 2 runs on the System 2 hardware, 68000 based. As I have some experience about 68000 programming, I gave it a go.
The keycus is accessed between address 0xd00000 and 0xd0000f, and generally returns random numbers which are expected by the system.
Keycus ID for Final Lap 2 is C318. When you try to run the board without it, you get this message on boot up :
RAM ERROR
C00400
I did search the program rom for access to the keycus area, and bypassed them. The modified program rom was then tested successfully on real hardware.
Next on line was Final Lap 3. This one uses 2 keycus chips for protection : the C318 (same as Final Lap 2) and C341. When either of the chips fails or is removed, the message
SYSTEM DOWN!
appears at boot up.
I used the same method as for Final Lap 2, and the modified version was also confirmed working on real hardware.
I ended up patching all System 2 games using a keycus for protection, for a total of 22 games (39 different sets), listed below :
Files are available here or in the Download section.
All the sets have been successfully tested on Mame, but only 4 of them were tested on real hardware so far. So if you are testing one of those that have not been tested yet, don’t hesitate to send a feedback, I’ll gladly add it to the list 🙂
All the hardware information used in this post was provided by Guru.
Hi there !
2 posts on the same day ? Watch out for hail 😀
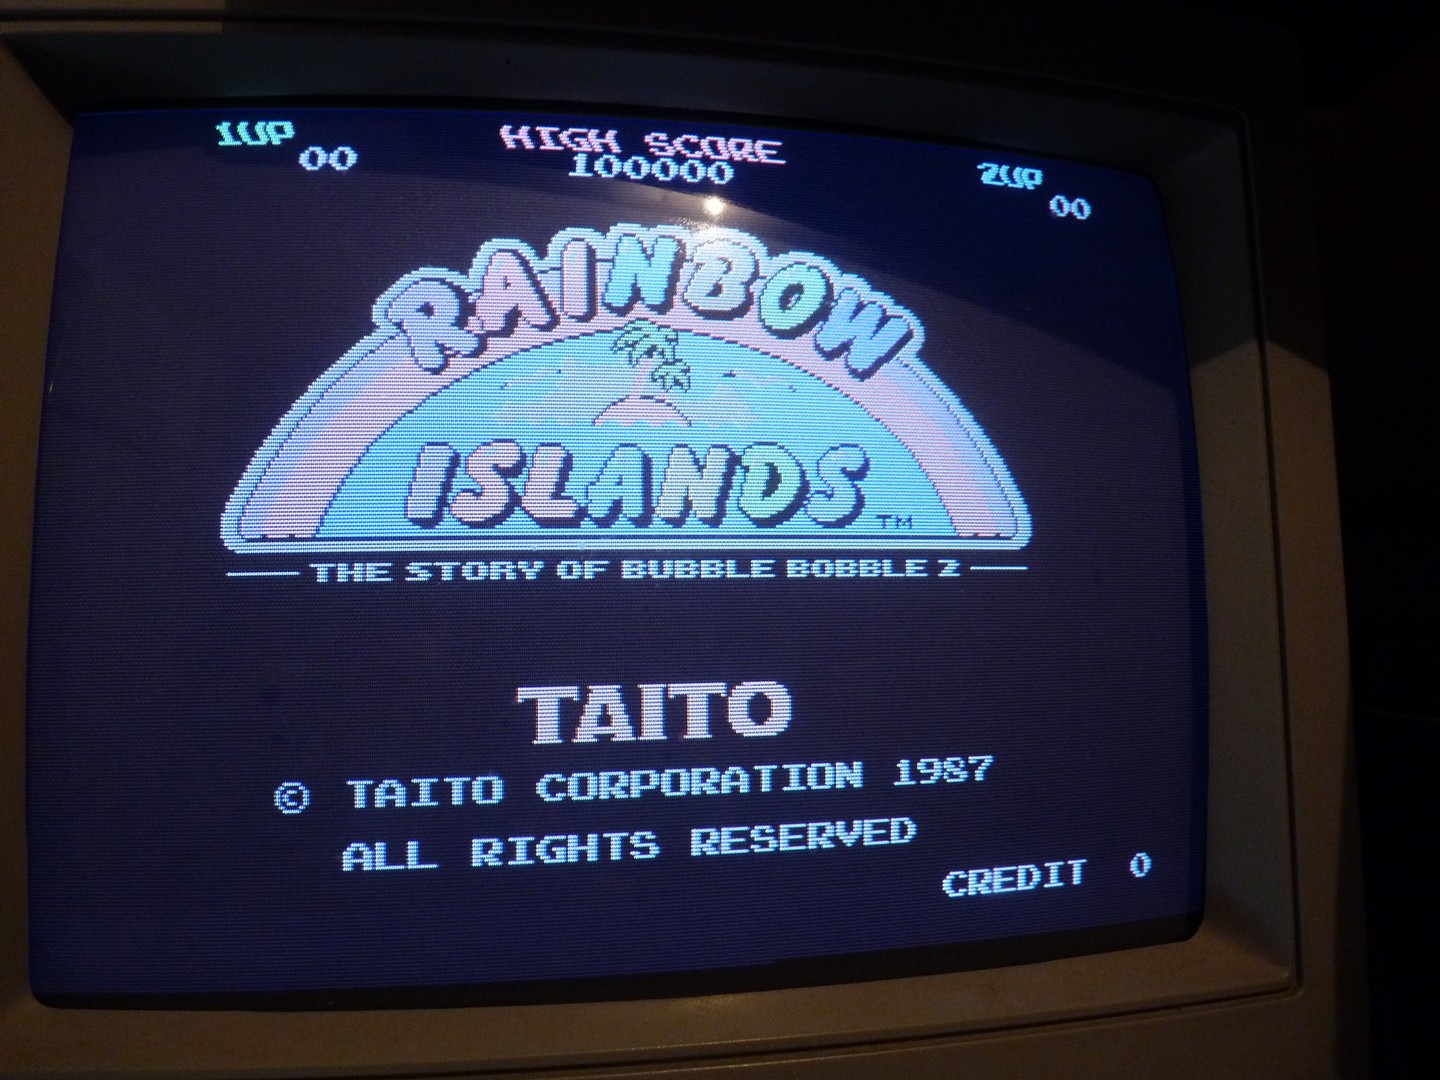
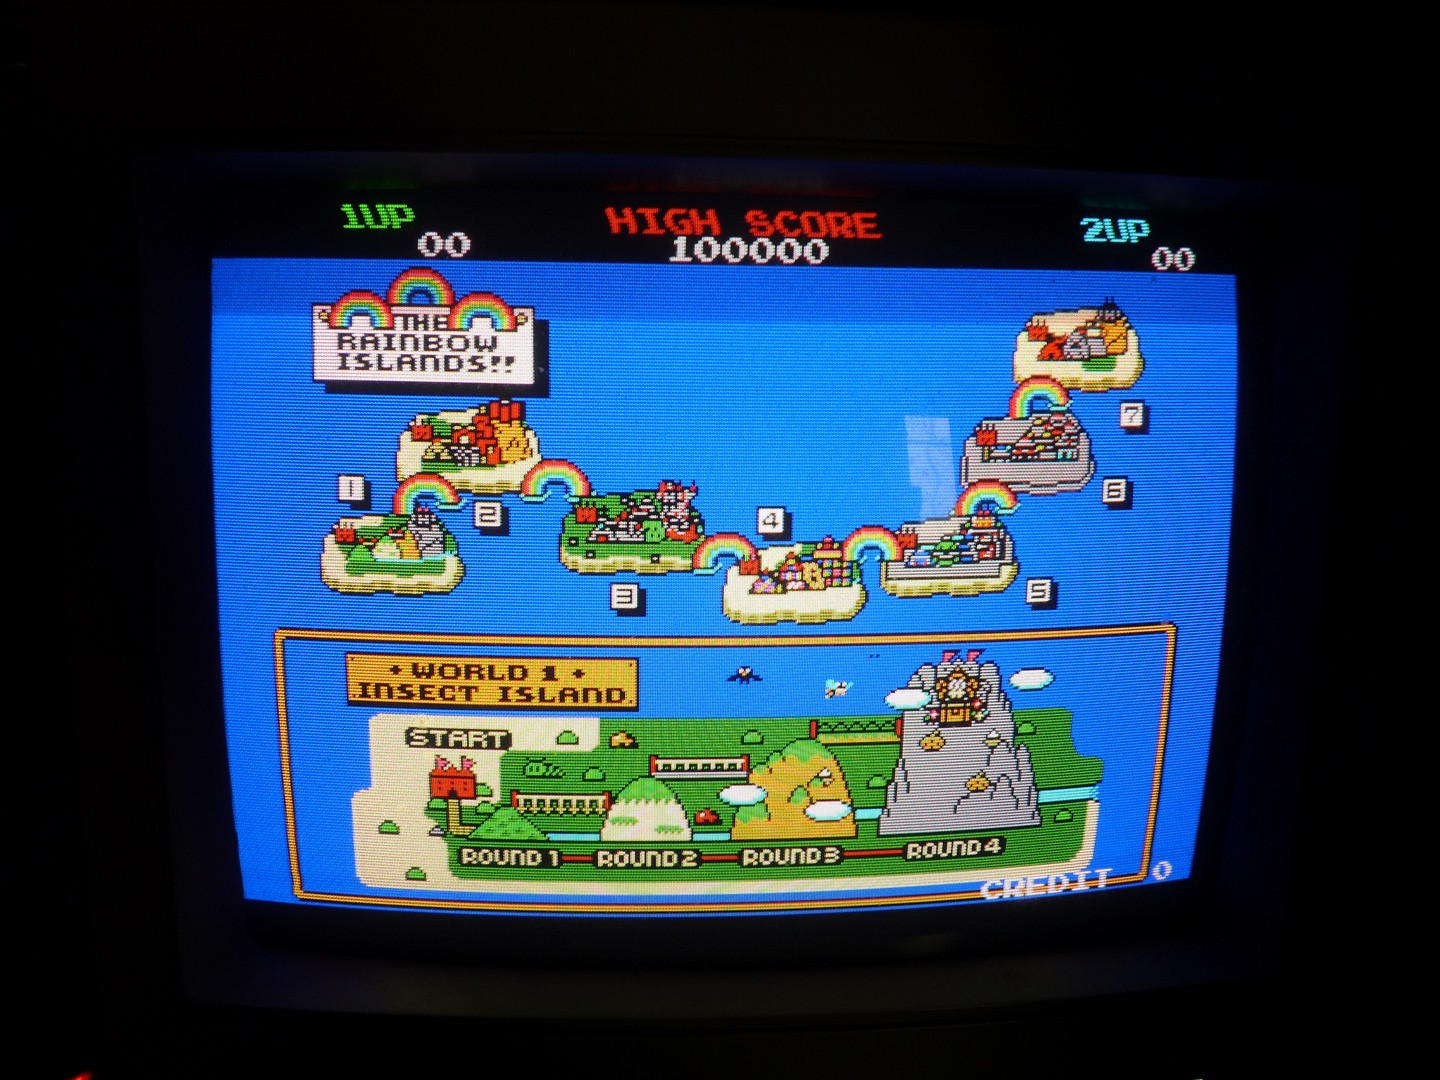
A few years back I bought a Rainbow Islands pcb, the mythical Bubble Bobble sequel from Taito. I got it pretty cheaply then because of a very simple reason : the custom chip handling the colors (the infamous TC0070RGB) was in a very sorry state, and the game couldn’t run properly.
This custom chip is in a SIL package (Single In Line), soldered vertically to the pcb, making it really vulnerable to physical shocks.
The board was clean, but the custom was torn off and soldered back using component legs … as solder isn’t known for its mechanical strength, this repair couldn’t last.
Check it out :
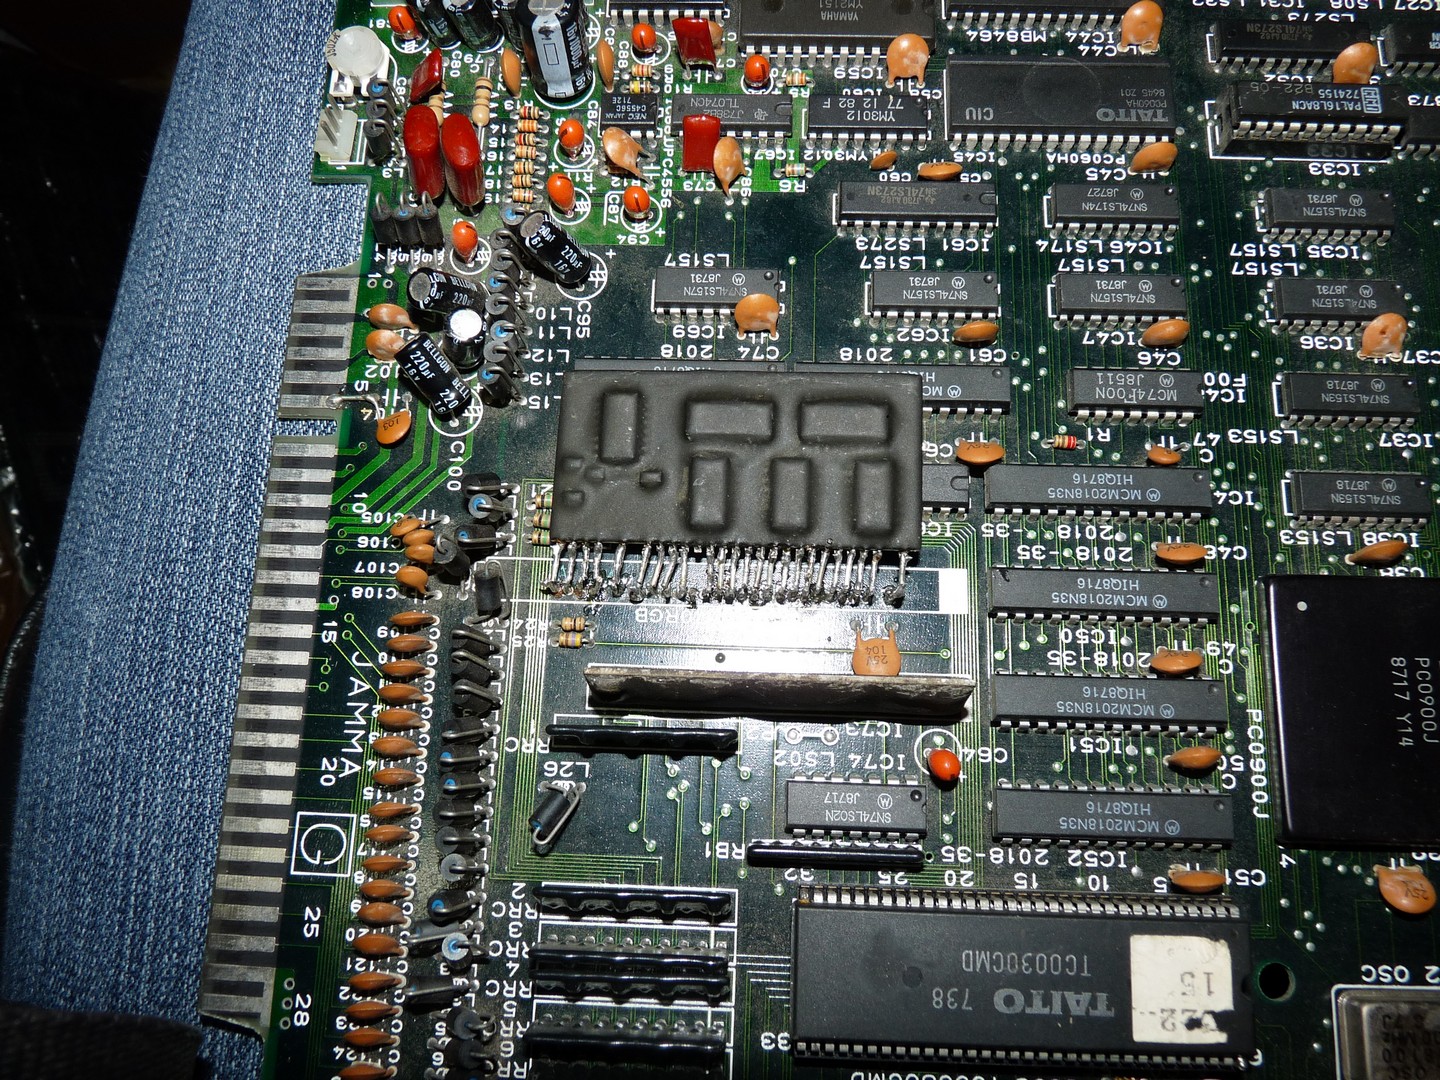
Unsoldered legs, loose connections, etc. … there’s a lot to do !
As I had various other ongoing projects at the time, and above all I didn’t know to tackle this issue I moved on something else and forgot this board in a cardboard.
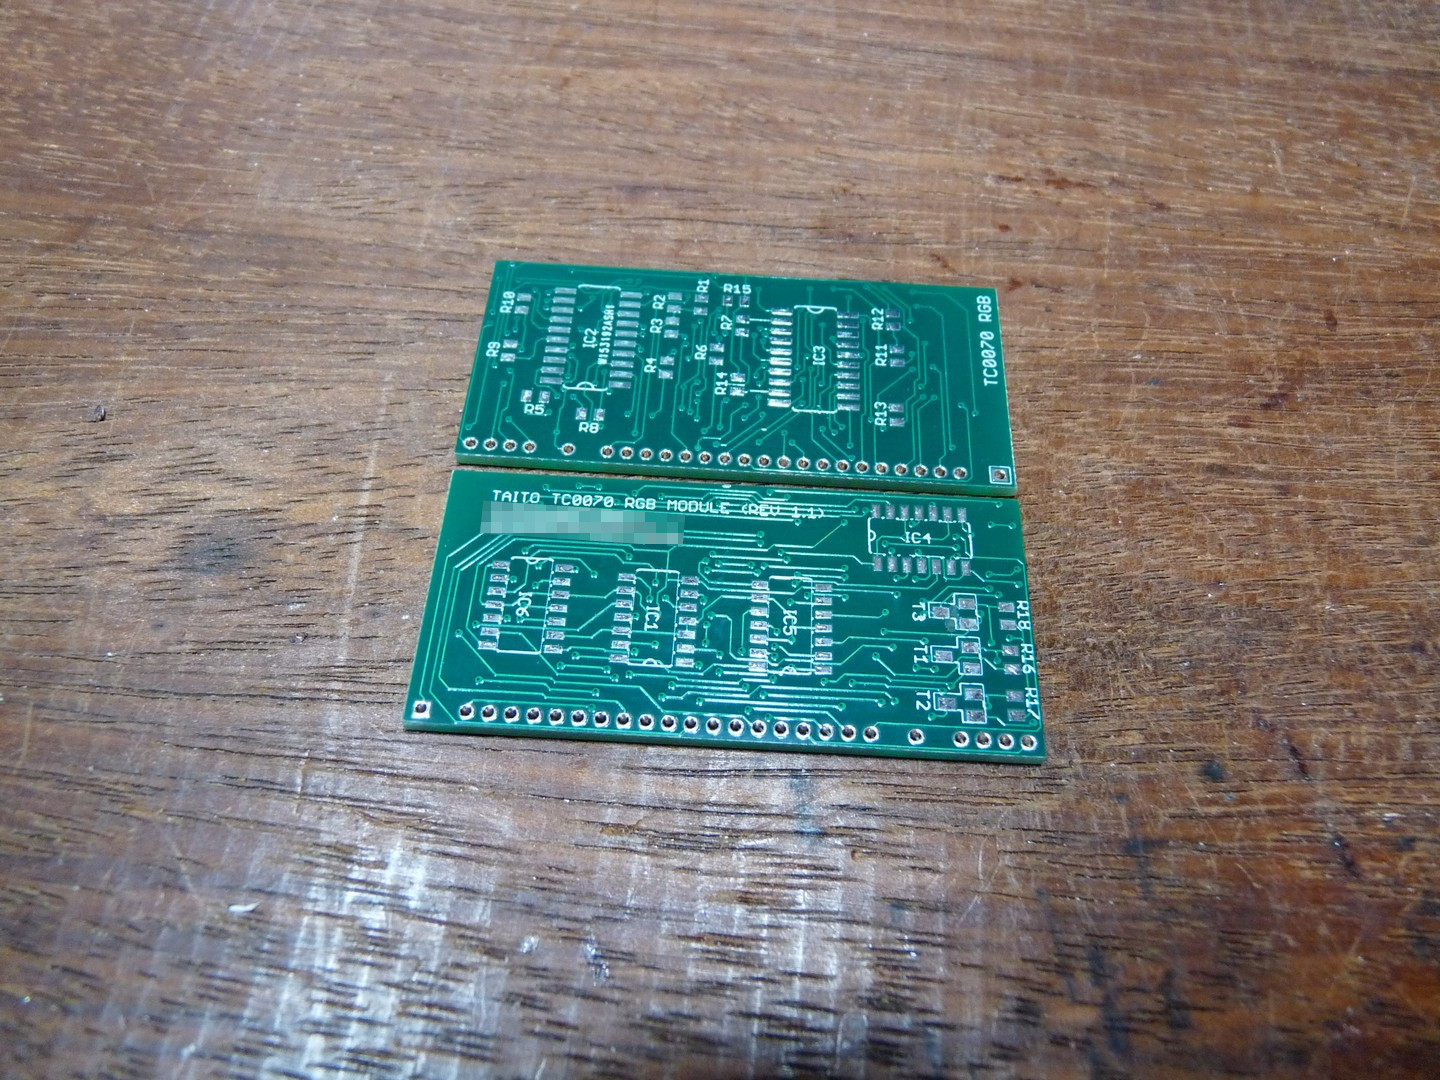
A few months back I came across someone’s website offering print draft of this custom chip. They weren’t available online anymore due to some abuse, but after some time we came to an agreement and he provided me with the files in order to do some real testing.
I ordered 5 pcb pieces from PCBWay (minimum order), and started looking for the parts needed. The pcb uses CMS 0805 parts, I never had the chance to work on a project of that scale with parts that small.
Here are the pcbs from PCBWay (I removed the markings from the picture as I don’t want the person to be annoyed because of me 😉 )
Placing resistors before hot air soldering (it’s really small, magnifier recommended !)
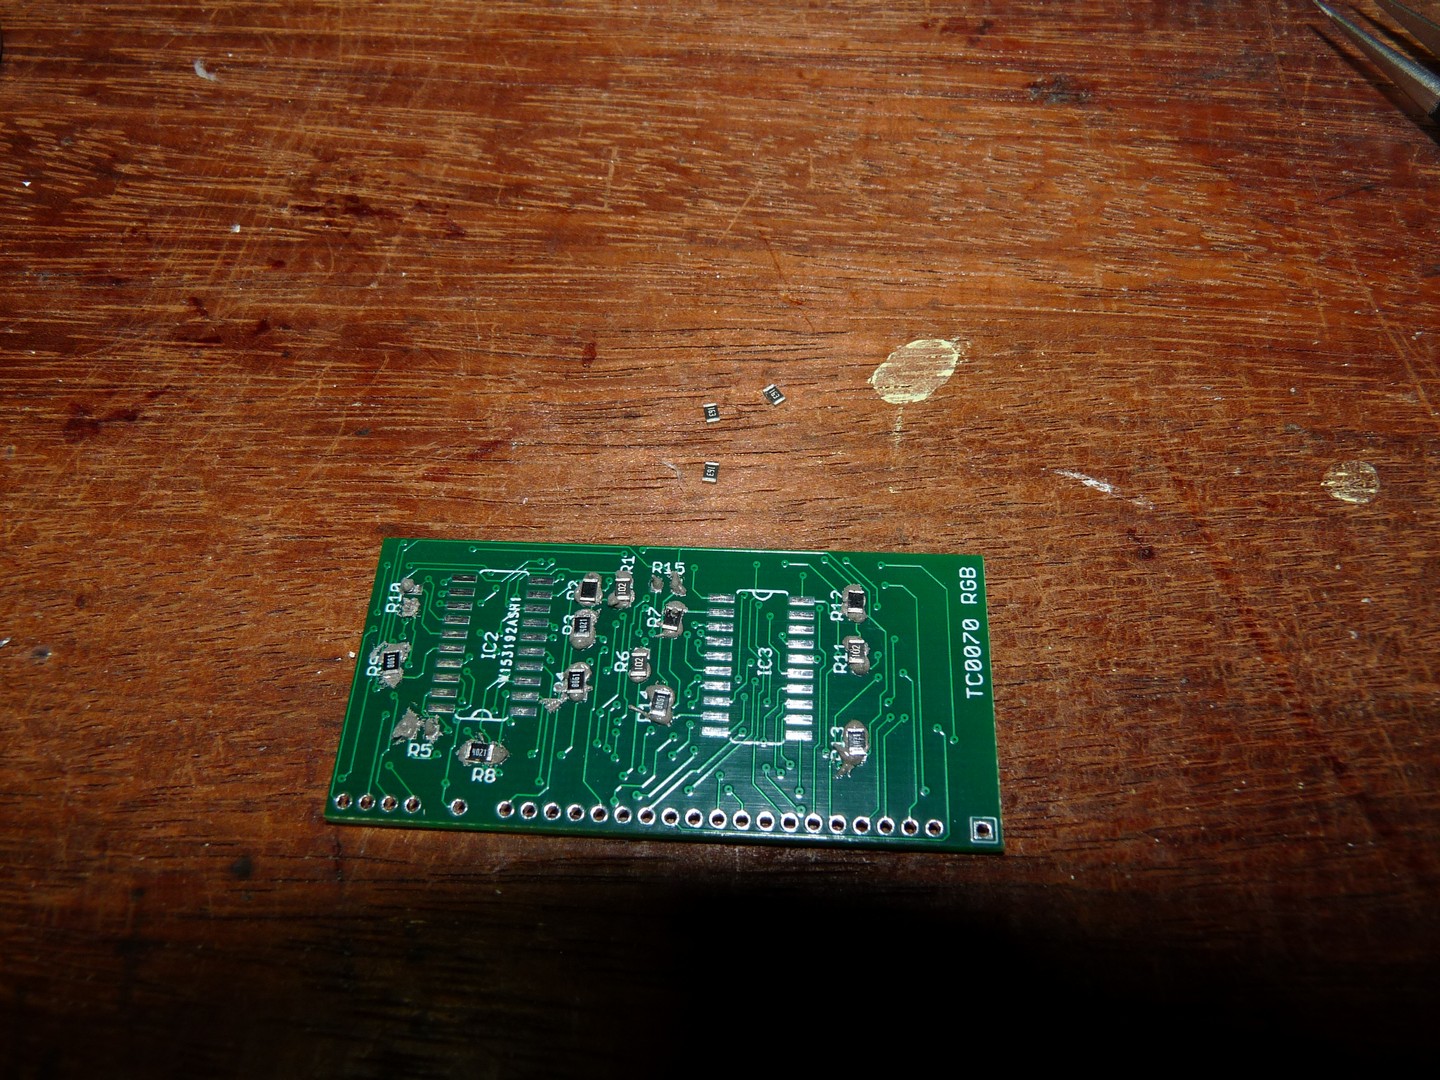
Soldering done ! A bit of cleaning is needed, and I have to remove excess solder (hard to measure out with the needle), but it’s not that bad actually …
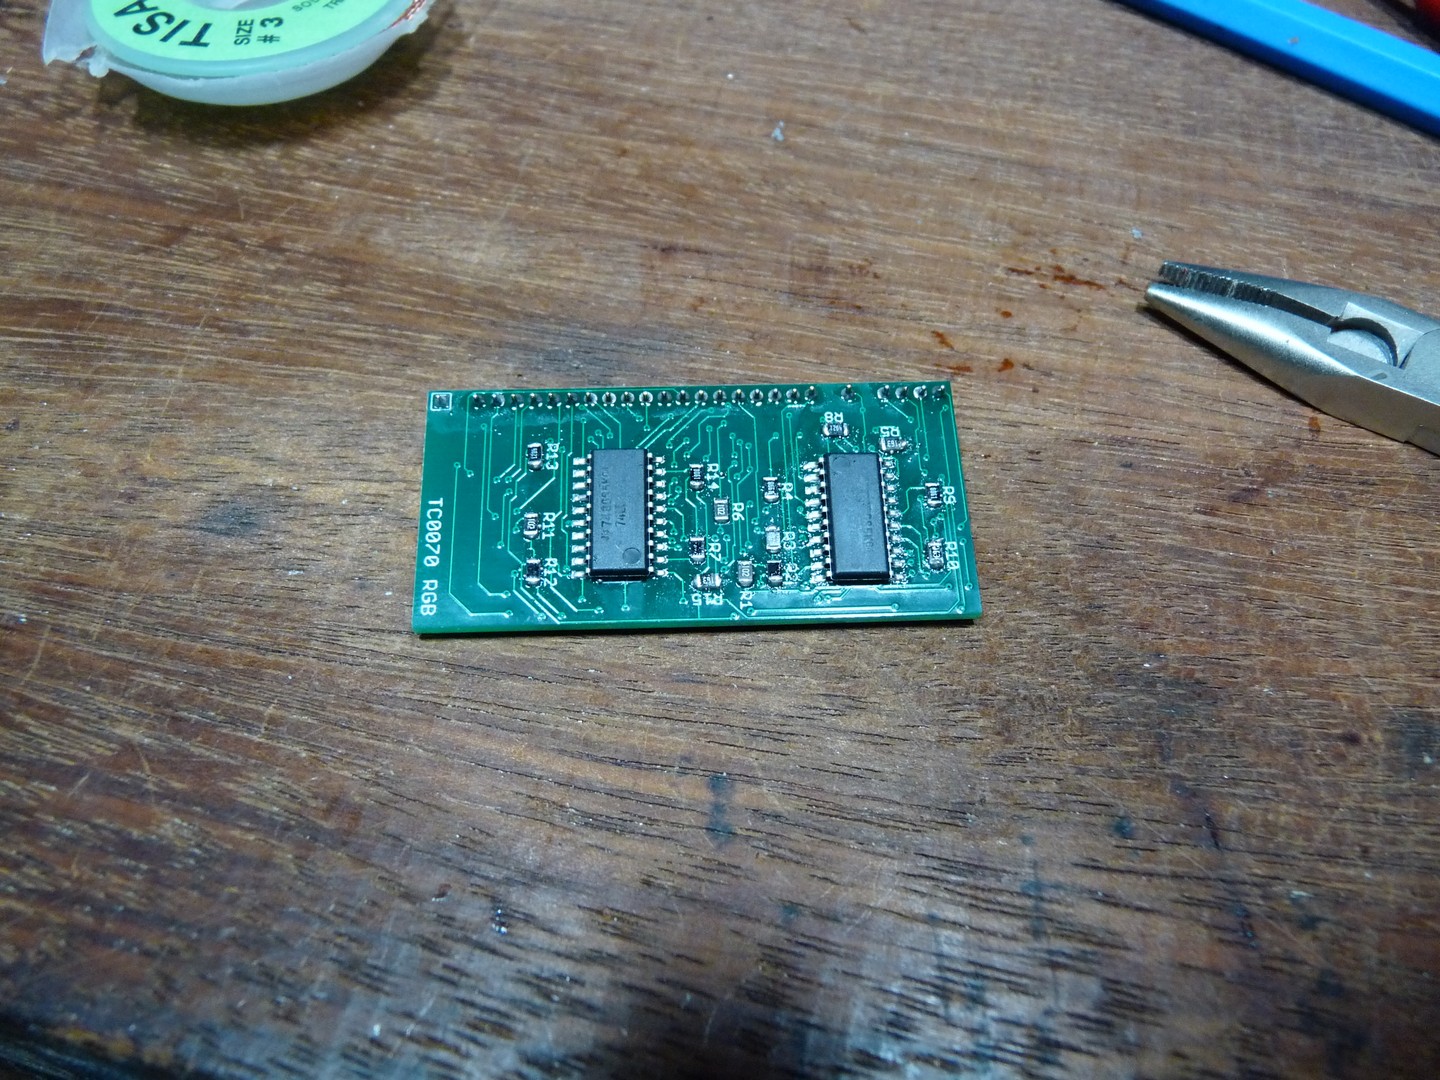
Added a socket a make testing easier.

Fresh new custom is plugged in, and …
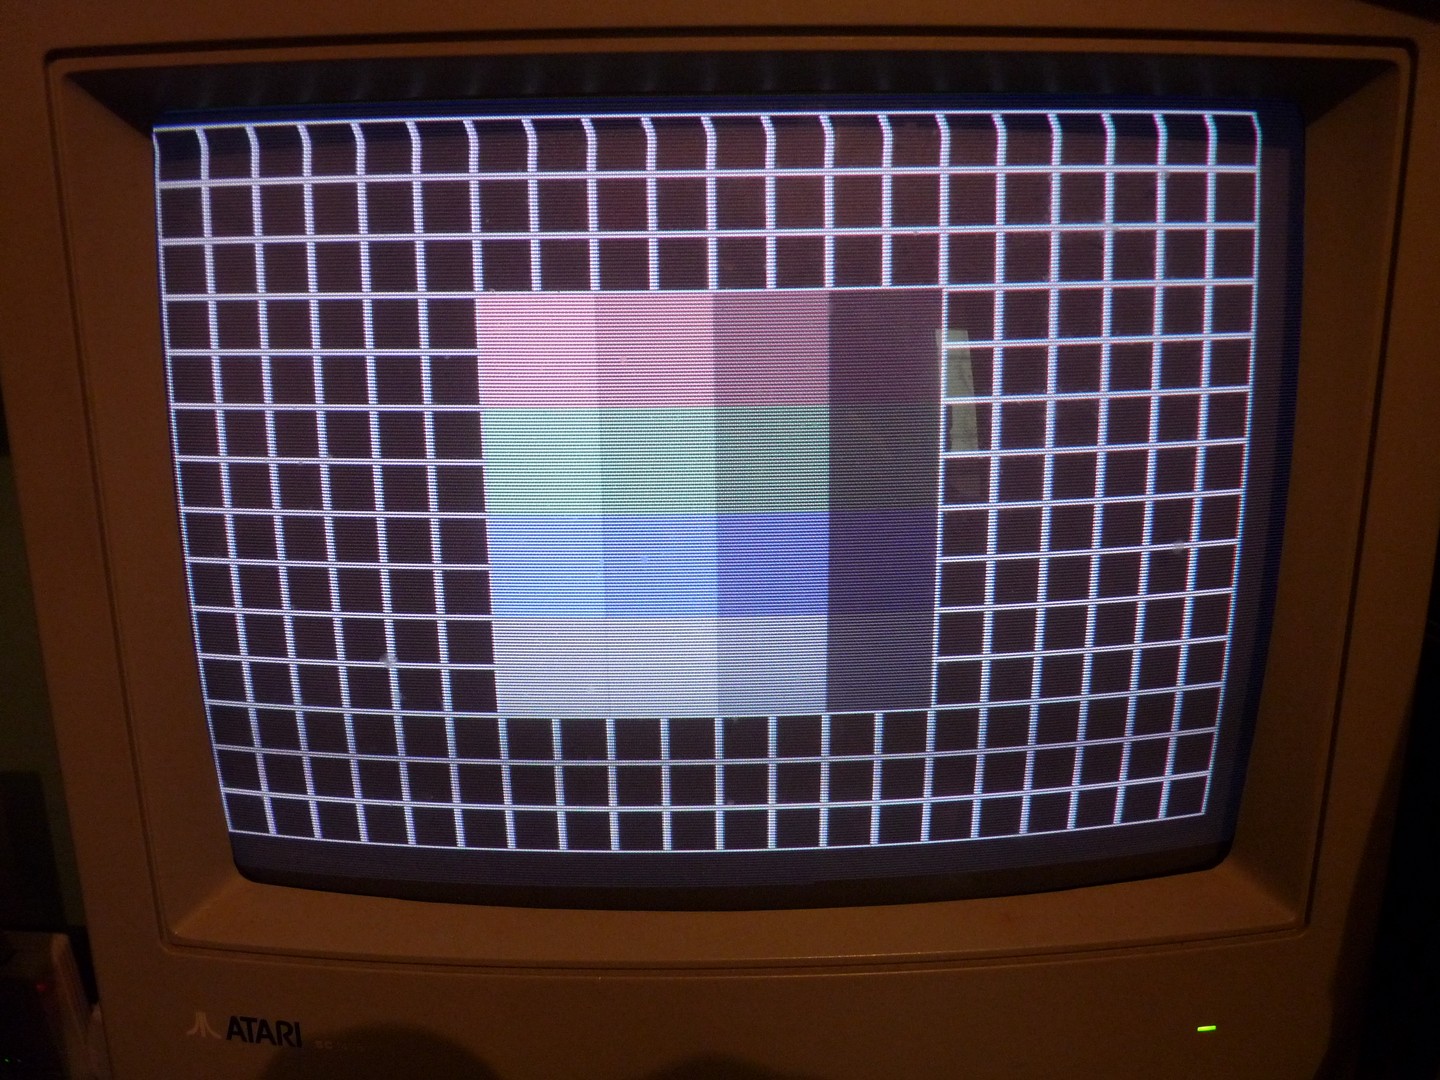
Yikes … what’s happening ? Colors are there but seem washed out … looks like a grounding problem.
To be sure I rewired the original custom to the board, in order to rule out a pcb fault :
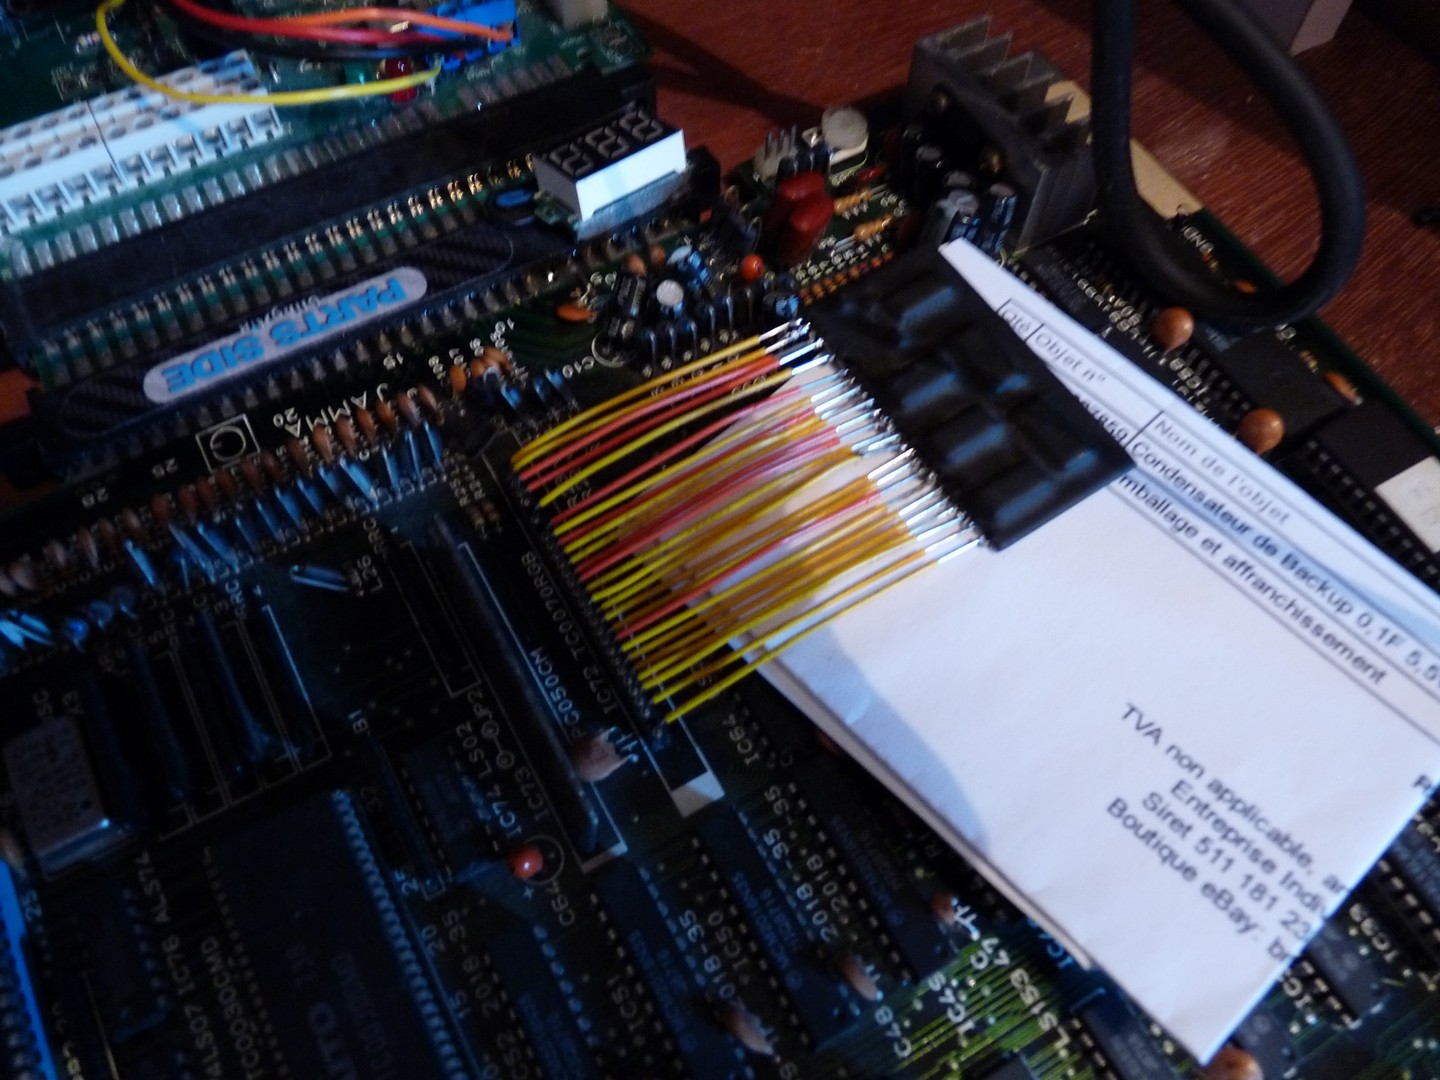
And everythings fine, so the problem is inside the new custom :/
After discussing back and forth with the designer, he detects a ground difference between 2 parts, and recommends me to add some kynar wire between 2 locations … I do as he says, and …

Great ! Quite happy to add this one to my collection 🙂
Cheers !
Hi there !
Almost 2 years without news, who can beat that :p
Anyway, I got a few days ago an email from Atlassian stating they will be dropping Mercurial support from Bitbucket, with effective removal of all repositories on June 1st 2020.
As all my projects are hosted there, that was quite a blow.
Long story short, all my repositories are now hosted on GitHub, including Agar. I’ve updated the link in the Project page.
Cheers !
Hi there !
System 16B version of Sukeban Jansi Ryuko (317-5021), using a FD1089B is now available , you can grab it from Jammarcade, as usual.
I don’t think much people will be interested in it, as it’s a mah-jong game using a dedicated controller …
Cheers !